Red Hand Gang mini robot tutorial

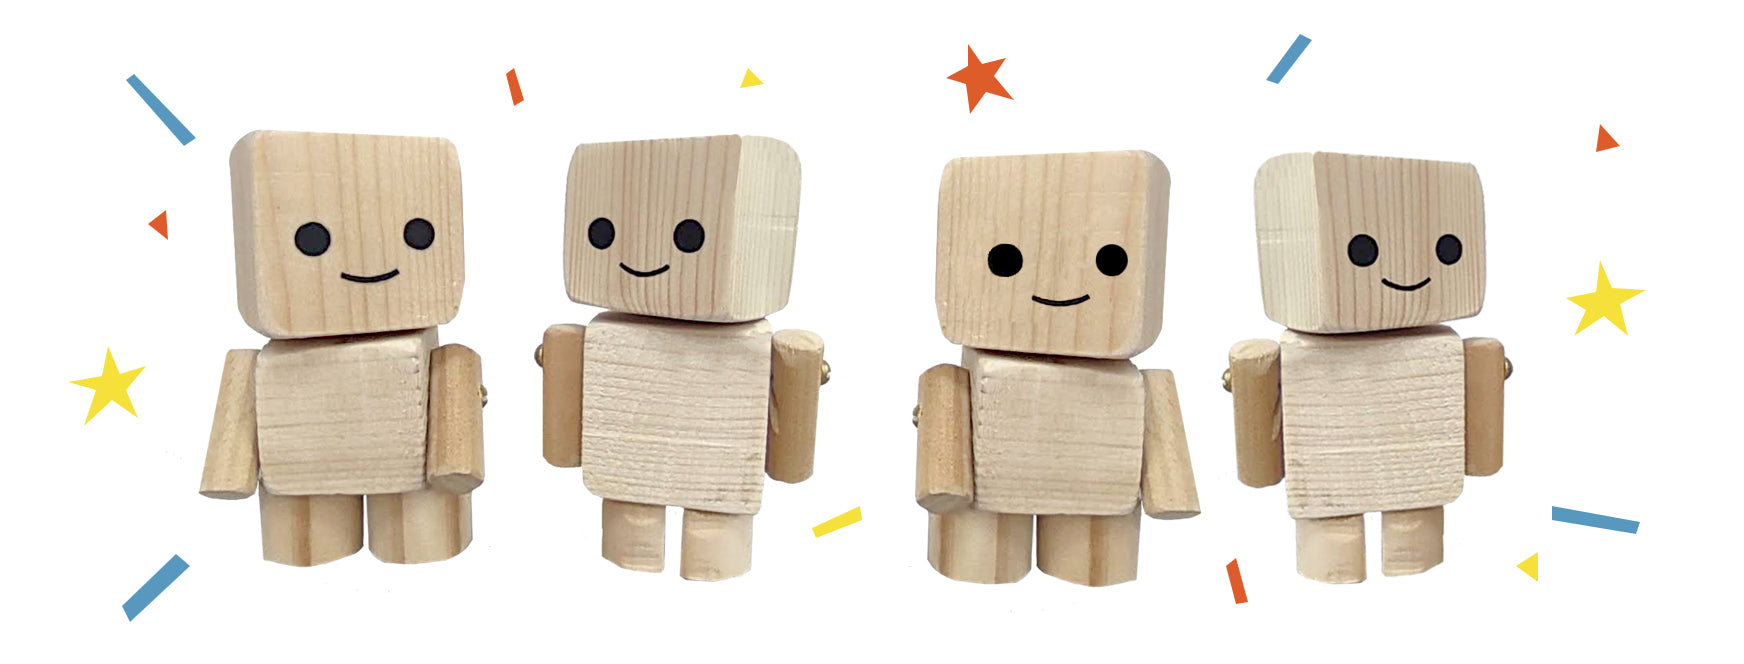
Make Your Own Mini Robot


This is a great little wood work project for you with or without kids! It is perfect for off cuts of wood. I found the body piece in a skip and the feet are the end of my broom so scavanged wood works well! You don’t have to be precious about the cuts or the construction - wonky is part of the charm!. The key to their cuteness in the proportions - make the head bigger than the body and short little legs and you instantly have a cute robot!
.
.
You will need:
.
- Drill - 2 drill bits - 6mm and 3mm
- Saw - 2 screws aprox 2 cms long
- Wooden Dowels:
1x precut carpentry dowel to connect the head and the body
2 X Pieces of thin dowel (10mm ish) for the arms
2 X Thicker dowel (20mm ish) for little legs
- 4.5 cm (ish) cube of wood for the head
- 3cm (ish) cube for the body
- Glue to attatch the feet
- G-clamp if you have one tro help hold the arm dowels whilst drilling.
.
         Cut your head and body from your wood


Make a cross on the bottom of the head to mark the centre. In the centre of the block drill a 2 cm(ish) deep hole using your 6mm drill bit. Do the same with your body block, then pop the dowel in the holes to connect the two blocks together.


This is a bit fiddly - It’s best to drill the holes before you cut the wood. Ideally you would clamp the dowel to a table edge before you drill it but if you don’t have a clamp, hold the dowel steady with some plyers while the you slowly drill through. Then cut the arms into 3cm lengths with the hole at one end. Screw in the arms to the body.


Get your chucky dowel and cut a few feet and glue it on to the robots body. Go over the wood with some fine sandpaper to take off any splintered bits and finally draw the face on in pencil and paint over with a little brush and a bit of acrylic paint.


Well done - you have a robot!


Leave a comment

Please note: comments must be approved before they are published.

Left Continue shopping
Your Order

You have no items in your cart